First register on https://console.actions.google.com/.
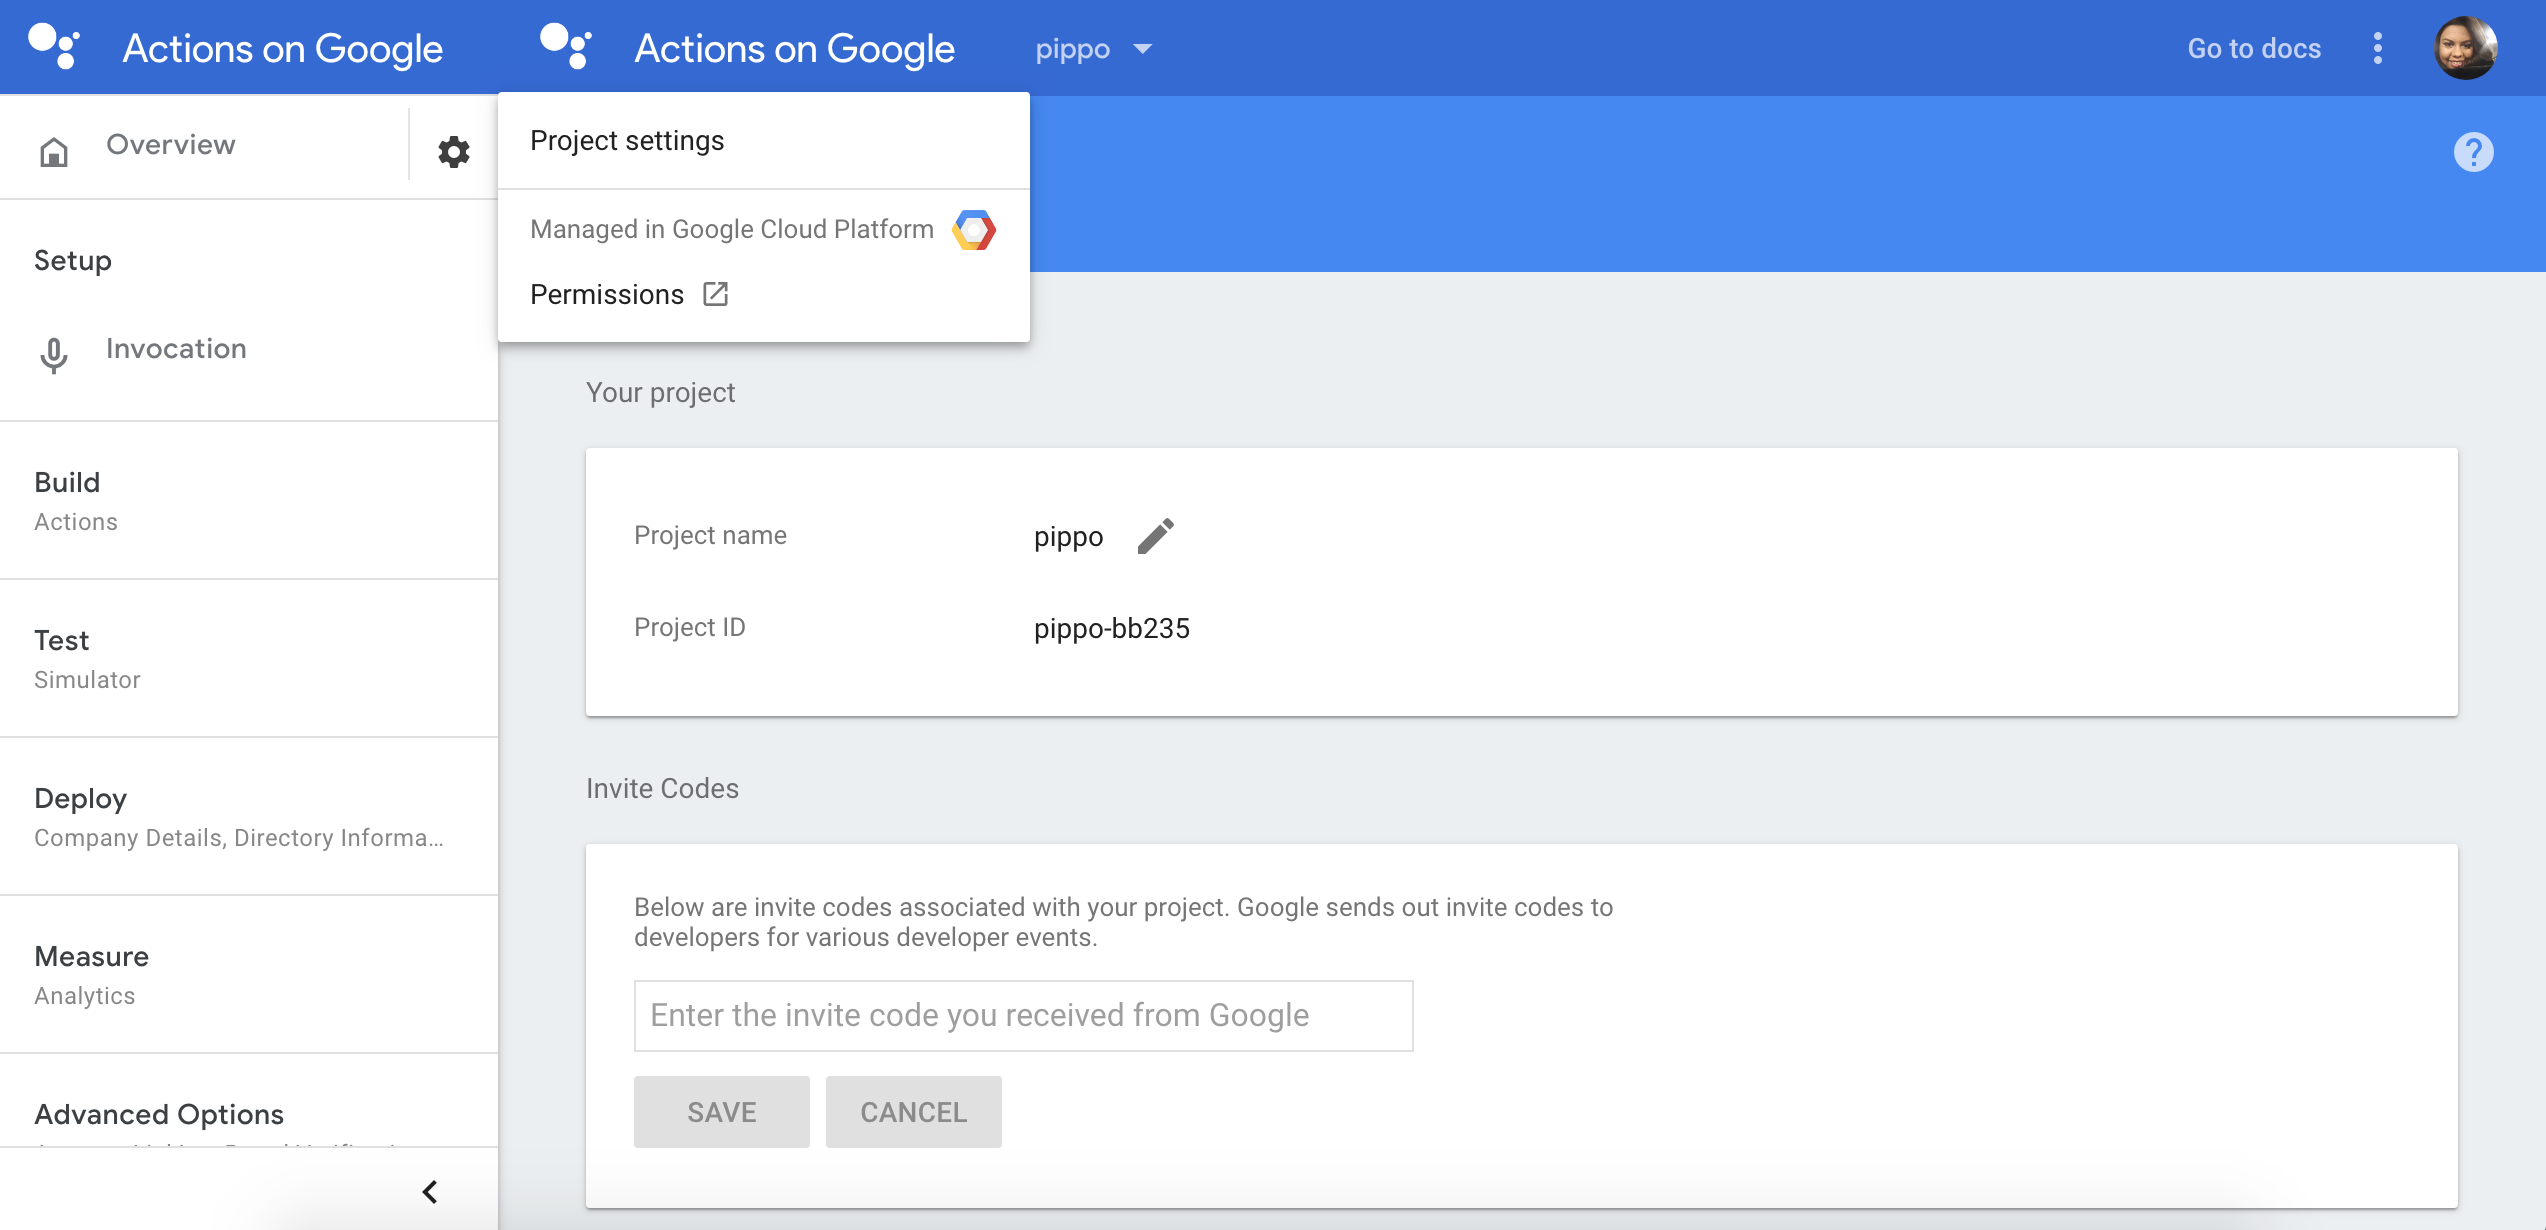
You can get your project ID by clicking on the settings gear settings in yourActions on Google project and then clicking on Project Settings. Than in the new tab you'll be able to set the project details and seeyour Project ID.
Settings: https://console.actions.google.com/
1) Add you project
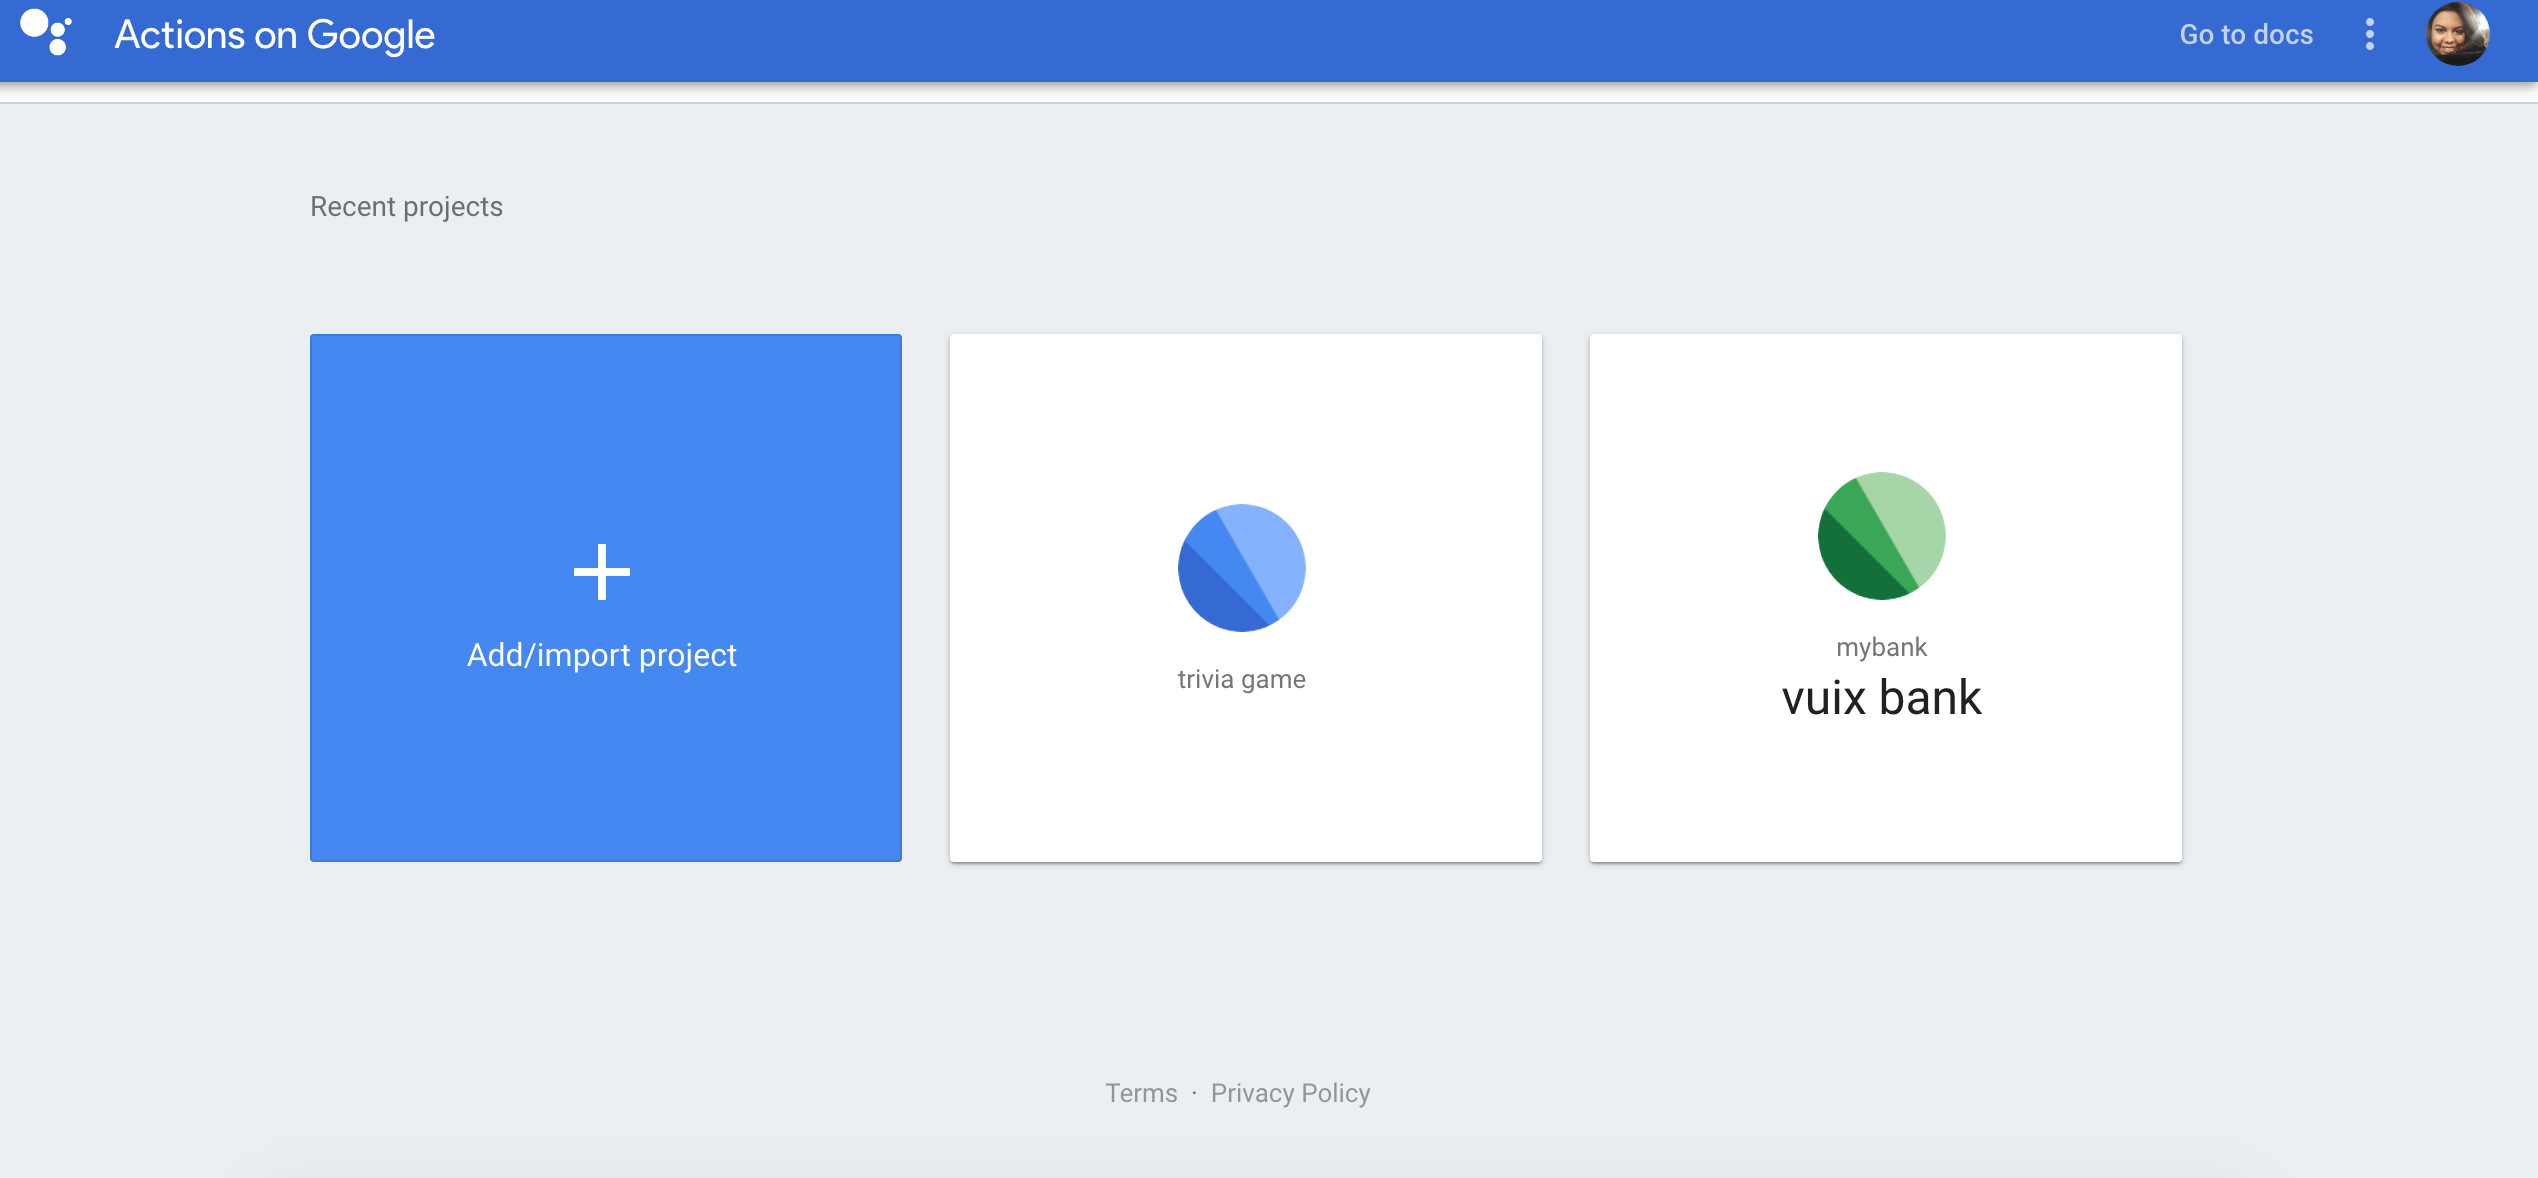
2) New project
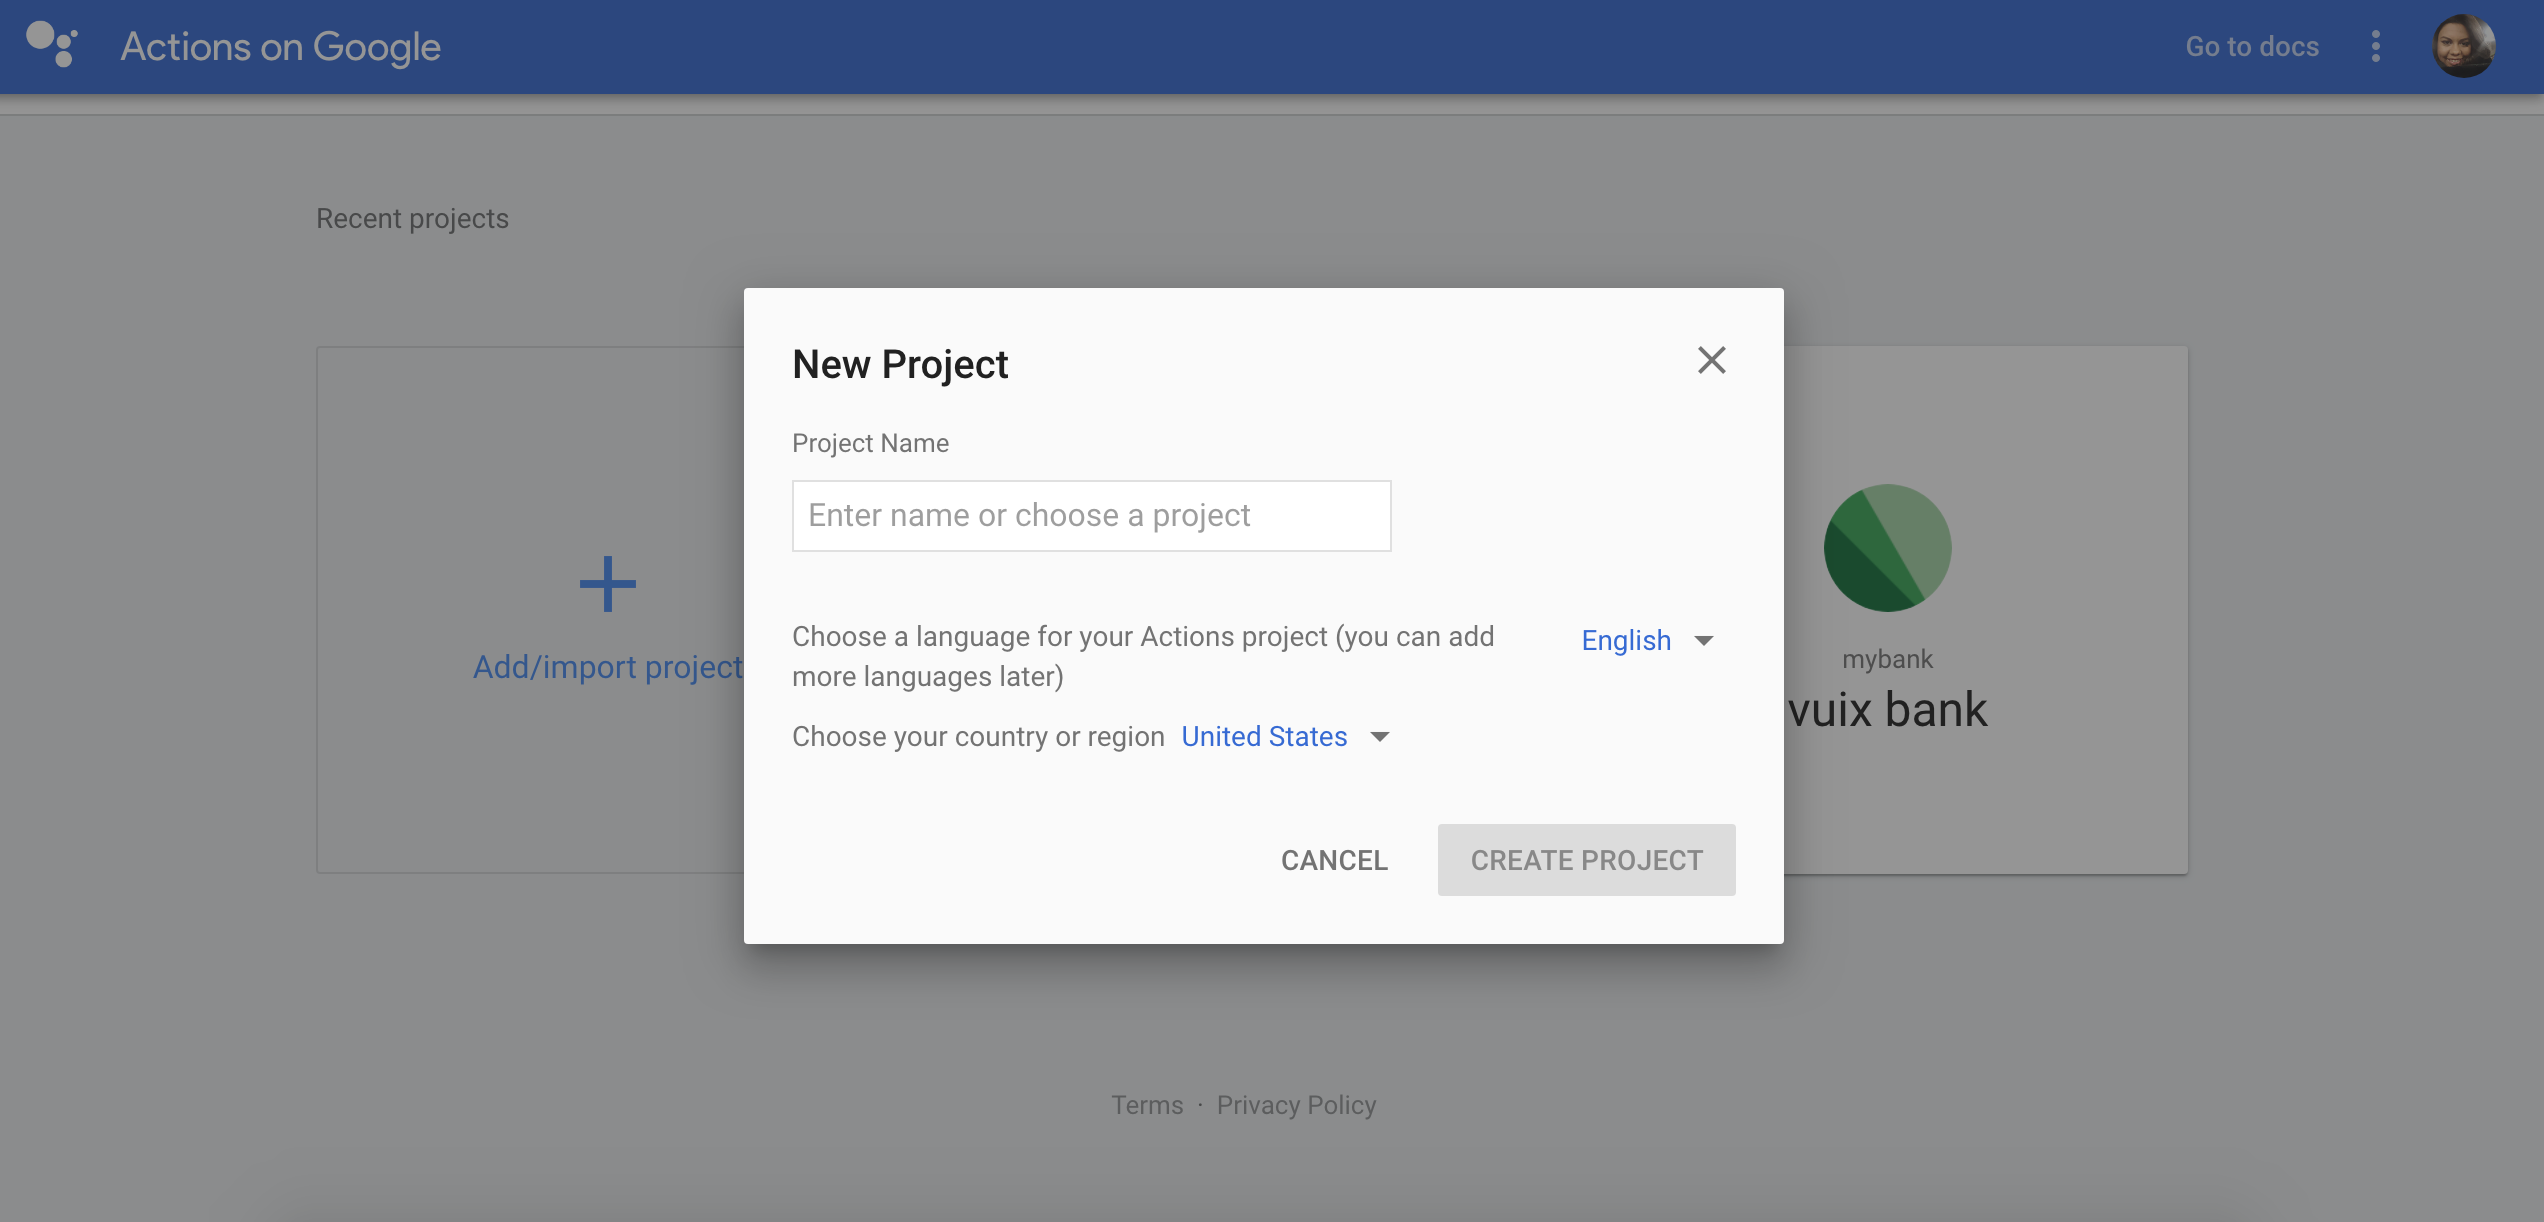
3) Here the project ID
Publish your Actions
Publishing is the general process that makes your Actions available to users. When you publish an Action, you perform two main tasks:
- You prepare the Actions project draft for release. During the preparation step, you specify information that users see about your Action in the Actions directory. You can also configure other settings (for instance, to control which device types and regions your Action will be available in).
- You deploy the Actions project to production. During the deployment step, you submit your Actions project to Google for review. If approved, you will receive an email notification and Google serves your Action to users (usually within two to three hours).
This page provides an overview of the process you should follow as you prepare to publish your Actions.
Prepare your Actions project
Before you can submit your draft Actions project for approval and publishing, you must provide metadata about your Actions project in the Actions console. The following sections describe the information that you need to provide.
Add directory information
Users can discover your Actions by searching or browsing through the Actions directory.
To add the information you want to present to users for your Actions, follow these steps:
- In the Actions console, select your project and go to Deploy > Directory information.
- Enter descriptions for your Actions project, both a short description that describes its function in one line, and a more complete description.
- Enter some sample invocations, or some phrases that users can say to invoke your Actions. Make sure you've tested your sample invocations in the simulator or on a device; if they don't all work, we won't approve your Actions project.
- Provide banner and logo images for your Actions project. The image size requirements are 1920 x 1080 pixels for the banner image and 192 x 192 pixels for the logo image.
- Enter contact information for your Actions project. This information is displayed publicly and is provided so users can contact you.
- Enter links to your privacy policy and terms of service. These links will be made publicly available to users.
- Pick the category that is most appropriate for your Actions project.
- If you want your Actions to be targeted at kids and families, toggle the For Families option. Enabling this option will require you to join the Actions for Families program.
- If your Actions features any alcohol or tobacco-related content, toggle the Alcohol and Tobacco option.
- Optionally, enter testing instructions for your Actions. These instructions are only visible to the review team; users will not see them.

Add details for other languages
You can specify information details at the language and locale level for each of your Actions projects.
By default, your browser language will be pre-selected in the language drop-down when you create a new project. You can add additional language support to your project by clicking the gear icon next toOverview and selecting the Languages tab. Click the check box next to each additional language you want to support.
You can configure metadata such as the Action’s name and description for each language in your project, by following these steps:
In the Overview, click on Deploy > Directory information.

Figure 2. Choosing languages for your Actions project. Select a language from the picker in the upper-left corner.

Figure 3. Adding directory information for a language. Enter details for your Actions project in a similar way as described in Directory information, substituting the default language details with the equivalent information in your selected language. You can also bulk export your Action's metadata as resource strings, which can be sent out for translation and imported back later. Read Exporting metadata for translation for details.
Click Save.
Export metadata for translation
If you need to translate your Actions project's metadata for different locales without granting translators access to the Actions console, you can export your Actions project's metadata as resource strings that can be externally translated and imported back into your project.
To do this, follow these steps:
- In the Overview, click on Deploy > Directory information.
Click on the vertical dots icon to the right of the language selector and Export for translation to download a .zip archive:

Figure 4. Exporting your directory information. The .zip archive contains .xlf files for each locale. Each file includes a
<source>and<target>translation for each field in the description for this Action:<trans-unit id="tu3" resname="shortDescription">
<source xml:lang="en">short description</source>
<target xml:lang="it">short description</target>
<note>The default short description for the Action (if there is not a translation available). This is limited to 80 characters.</note>
</trans-unit>Replace the
<target>strings with translated strings for the file's locale:<trans-unit id="tu3" resname="shortDescription">
<source xml:lang="en">short description</source>
<target xml:lang="it">Breve descrizione</target>
<note>The default short description for the Action (if there is not a translation available). This is limited to 80 characters.</note>
</trans-unit>
</pre>Re-zip the folder containing all of the now-translated .xlf files.
Navigate back to the Directory information page in the Actions console, click on the vertical dots icon near the top and Import translations to upload your archive.
Optional: Specify location targeting
By default, your Actions are available in all regions as long as the user's device locale is set to an "English" variant (for example, American English or British English ).
To control region availability for your Action, you can use the Location targeting setting in the Actions console.

To learn more, see see the localized publishing guide.
Optional: Specify surface capabilities
Your Actions can appear on a variety of surfaces that the Google Assistant supports, such as phones (Android and iOS) and voice-activated speakers.
Surface capabilities let you control whether or not users can invoke your Action, based on the surface they are using. If users try to invoke your Action on an unsupported surface, they receive an error message telling them their device is unsupported.

To learn more, see the surface capabilities guide.
Test with the Actions simulator
Before publishing your Action, you should use the Actions simulator to test the user experience.
To test your current Actions project draft, click on Test > Simulator. This will make the current version of your draft available in the simulator in the console as well as on your own Google Assistant-enabled devices.

To learn more, see the Actions simulator guide.
Publish your Actions project
Once you've prepared and tested your Actions project draft and are happy with the results, you can deploy it to users. To do this, navigate to Deploy > Release and click the Submit For Production button.
This will submit the current draft of your Actions project for review. Our review team will test your Action against our policies and if it is approved, it will be available to users.
As updates occur, you'll get emails and you can always track the status by returning to the Overview section of the Actions console.
Deployment status
The following table describes the different deployment statuses once you have submitted your Actions project and any next steps you need to take.
| Deployment status | Description |
|---|---|
| Under Review | When you submit a new deployment, it goes through an approval process. Reviewers test your Action and verify that you haven't violated any policies. You will receive an email once a review has been completed telling you whether your deployment was approved or not. |
| Denied | An unapproved status means that your deployment was denied. You should receive an email explaining why your deployment was denied. You can also click Why? next to the Unapprovedstatus in the console to see the rationale for the denial. |
| Published | An approved deployment that is active and being served to users. Note that you can unpublish a published version at any point from the console. |
| Unpublished | An approved deployment that is not currently active and is not being served to users. Note that you can publish an unpublished version at any point from the console without going through review (since it has already been approved). |
| Published and Unpublishing | Publishing and unpublishing takes some time to take effect. These intermediate states reflect that your Action is either transitioning from unpublished to published, or vice versa. |
| Unhealthy | Google will regularly send a request to the endpoint of your In this case, you will receive an email informing you that your endpoint is unhealthy, and we will also show an Unhealthy status. As soon as we detect that your endpoint is responsive again, we will resume serving your Action to users. You will receive an email if this happens, and your deployment’s status should return to Published. |
| Taken down | Google may take down your Action if we detect a policy violation after deployment. You will receive an email if this happens, and you will also see a banner in the developer console informing you that your Action has been taken down. You can click Why? to see the rationale, and to see your options for either fixing the policy violation or appealing the decision. Note that some takedowns are final, and cannot be appealed or revoked. |
Versioning your Actions project
Over time you may want to update your the information about your Action in the Actions console (for example, the Action's name and icon); these changes will result in a new version of your project. You must resubmit each version through the review process before your updated Action is released to the public.
Update an Action
When you have made your updates in your Actions project draft, click Submit For Production on the Overview page. This will create a new project version which goes through the same review process as before. If approved, the previous version will be unpublished and the latest version of your Action will be available to users.
Track and modify versions
To track and get information about your versions, go to the Overview page and click the version in the table you want information about.

The table shows the last modified date and the current status of the version. You can make specific changes to the status, depending on the version's current status.
- If a version is under review, you can select to withdraw the version from review.
- If a version is published, you can select to unpublish it.
- When a previous version is unpublished, you can select Rollback to this version to revert to that version.
Now that your Action is available to users, continue on to the Analytics and Health section to see how it's performing.
When to resubmit your Actions project
If your Actions project is already published, subsequent changes you make may not be reflected immediately.
In order for your changes to go live, you will need to resubmit your Actions project through the review process, if any of these situations apply:
- You made a change in the Actions console to modify the Actions project's description, icon, or other metadata.
- You are using the Actions SDK and made changes in your Action package.
- You are using Dialogflow and made changes to your Dialogflow agent. This does not apply if you only made changes to the fulfillment code in Dialogflow's inline editor.
However, you do not need to resubmit your Actions project for these scenarios:
- You only made changes to your code in an externally-hosted webhook or in Dialogflow's inline editor.
- You are using Templates, and you updated your template data via uploading content to Google sheets.
Source: https://developers.google.com/actions/console/publishing